Bring Back the Warmth: Wood Furniture Scratch Repair Tips
Chosen theme: Wood Furniture Scratch Repair Tips. From tiny scuffs to stubborn gouges, learn how to restore beauty without erasing history. Years ago, I revived my grandmother’s oak table with patience, a wax stick, and good light—its scratch became a story, not a scar. Read on, ask questions, and subscribe for fresh, practical guidance.

These are finish-friendly annoyances, often from metal zippers or moving décor. They usually sit on top of the finish and respond to gentle buffing, a little polishing compound, or even a pencil eraser. Start mild, test in an inconspicuous spot, and avoid aggressive rubbing.
These scratches cut into the finish but not the wood fibers. They may appear white on dark pieces and dark on light pieces. Rubbing compound, wax sticks, or a compatible topcoat can blend them. Match sheen carefully to keep your fix invisible under daylight.
Gouges bite into bare wood, interrupting grain and color. They require filling, color blending, and sometimes spot topcoating. Don’t panic—patient layering wins. Photograph the scratch before you begin, and share progress with readers for feedback and encouragement.
Your Repair Toolkit: Simple, Safe, Effective
Keep microfiber cloths, painter’s tape, tack cloth, cotton swabs, wax filler sticks, blending pencils, touch-up markers, mineral spirits, and a small flashlight. Add fine abrasives like 0000 steel wool or micromesh pads. A scrap board for testing will save you from surprises later.
Color Matching and Grain Blending
Instead of hunting for a perfect single match, stack light layers of compatible colors. Let each layer dry, then reassess in daylight. Slightly cooler browns often need a warm glaze. Photograph under window light, and adjust with a final whisper of a matching marker.
Color Matching and Grain Blending
Use ultra-fine markers or pencils to mimic grain lines, following the wood’s direction. Vary pressure and color subtly, breaking lines so they look organic, not drawn. A final pass with a blending pad softens edges, making your repair dissolve into the surrounding figure.
Erasing Light Scuffs
Clean first with a slightly damp microfiber, then dry thoroughly. Apply a little polishing compound, rubbing with the grain using minimal pressure. Wipe clean and evaluate. If needed, follow with wax for sheen harmony. Keep movements even, and stop as soon as the scuff disappears.

Treating Finish Scratches
Use a compatible rubbing compound or a wax pencil matched to color. Warm the wax slightly with your hand, press it into the scratch, and level with a plastic card. Buff lightly. If sheen mismatches, mist a compatible aerosol finish and blend edges carefully.
Filling Deep Dings and Gouges
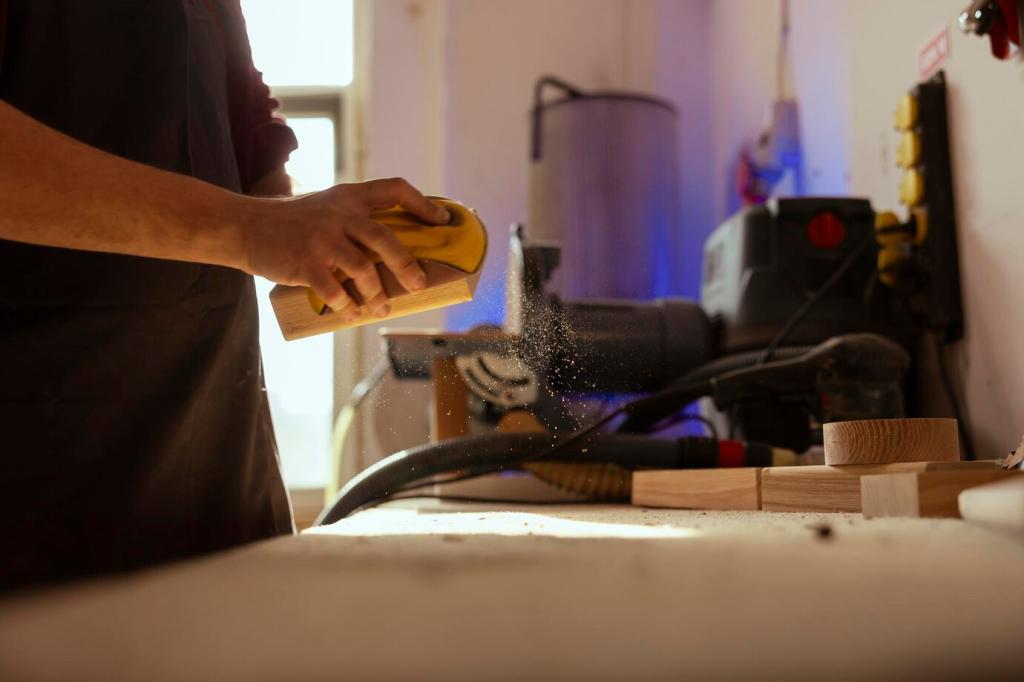
Mask around the damage. Pack a colored wax or hard fill stick, then level flush. Recreate grain with pencils, add a faint glaze if needed, and top with a spot coat. Blend sheen last. Patience pays—share before-and-after photos to inspire fellow readers.
Identify the Existing Finish
Rub a hidden spot with alcohol: shellac will soften; lacquer responds to lacquer thinner; polyurethane usually resists both. Oil finishes feel less plasticky and more natural. Knowing this keeps your repair products from fighting and prevents cloudy patches or peeling later.
Use Compatible Products
Match finish to finish: shellac welcomes shellac, lacquer loves lacquer, and polyurethane prefers carefully sanded mechanical bonds. Wax stays last, never under topcoats. Keep a compatibility chart handy, and comment for a quick check if your label language feels confusing or vague.
Drying, Curing, and Patience
Dry to touch is not cured. Shellac cures fast, lacquer flashes off quickly, and poly may need days. Rushing invites fingerprints, witness lines, and dull spots. Give repairs breathing room, keep dust down, and share your timeline to help others plan realistic expectations.
Protect and Prevent: Keep Scratches From Returning
Daily Habits That Save the Surface
Use coasters and felt pads, lift rather than drag décor, and wipe grit promptly. Choose gentle cleaners without silicone that can complicate future touch-ups. Rotate objects to avoid pressure dents. Share your routine and favorite products so the community builds a reliable shortlist.
Myths, Mistakes, and Pro Moments
Viral Hacks to Skip
Mayonnaise, toothpaste, and olive oil can temporarily mask scratches but often contaminate finishes, attract dust, or block future topcoats. Choose targeted products designed for wood finishes. If you tested a hack, describe results honestly so we can help clean and reset properly.
The Sanding Trap
Over-sanding flattens edges and opens a repair crater. Sand only when necessary, use fine grits, and protect surrounding areas with tape. Check progress frequently in raking light. If you feel uncertain, pause and ask the community before you remove original finish or patina.
When to Call a Pro
Antiques with historical value, veneer problems, or water-ring burn-in may deserve expert hands. A conservator can stabilize and blend without erasing age. If you’re facing complex damage, post photos and goals; we’ll help you decide whether to DIY, consult, or hire.

