Chosen theme: How to Tighten Loose Furniture Joints. Welcome to a practical, confidence-boosting guide packed with real-world techniques, relatable stories, and simple steps you can follow today. Grab your clamps and curiosity—let’s restore sturdiness, silence creaks, and keep your favorite pieces standing strong. Share your progress in the comments and subscribe for more hands-on fixes.
Spot the Wobble: Diagnosing Loose Joints with Confidence
01
Place the piece on a flat floor, apply light pressure in different directions, and listen. A rhythmic creak often matches a single joint. Mark suspect areas with painter’s tape to track movement clearly and avoid guesswork.
02
Loose mortise-and-tenon joints tend to rock; dowel joints often twist; corner blocks split under racking. Identify the joint first, because your tightening method—glue choice, clamp placement, or reinforcement—depends exactly on how that joint was designed.
03
If the piece is antique or sentimental, pause before invasive steps. Non-reversible fixes can reduce historical or monetary value. Ask in the comments for advice on museum-safe approaches, or consult a pro for minimally invasive reinforcement.
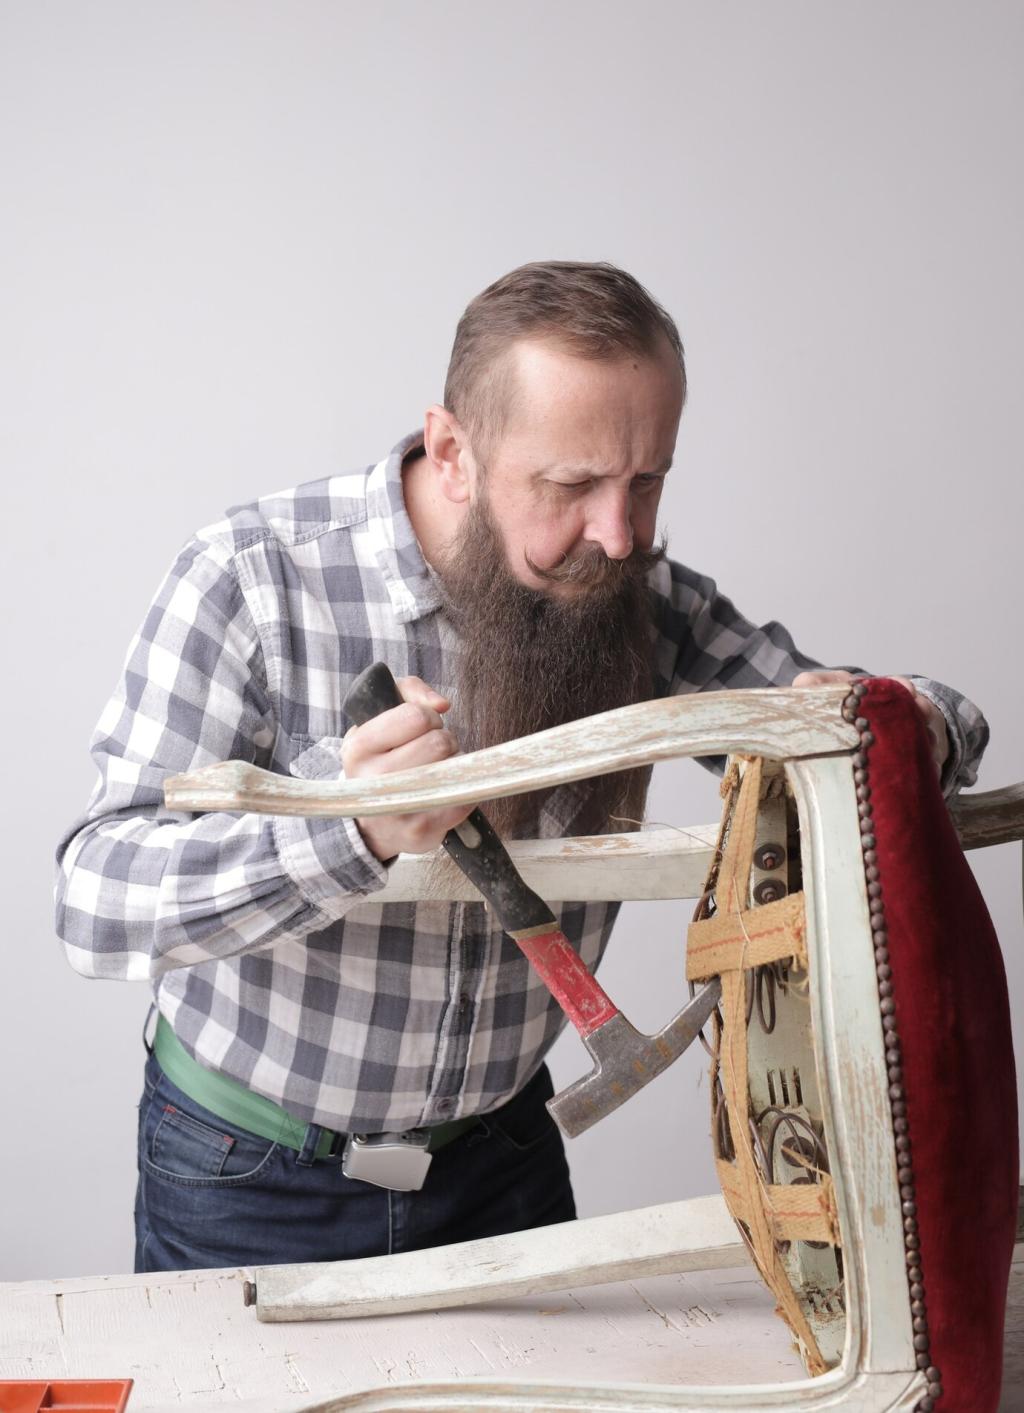
Gentle Disassembly Techniques
Use a rubber mallet and a wood block to tap joints apart without bruising edges. For old hide glue, a little steam or gentle heat can soften bonds. Work slowly, supporting the piece to avoid torque that causes cracks.
Remove Old Glue and Debris
Scrape away crusted glue, dust, and polish residue from mating surfaces. A card scraper, sharp chisel, or sandpaper backed by a flat block ensures even contact. Clean surfaces let fresh adhesive bond properly and prevent premature failures.
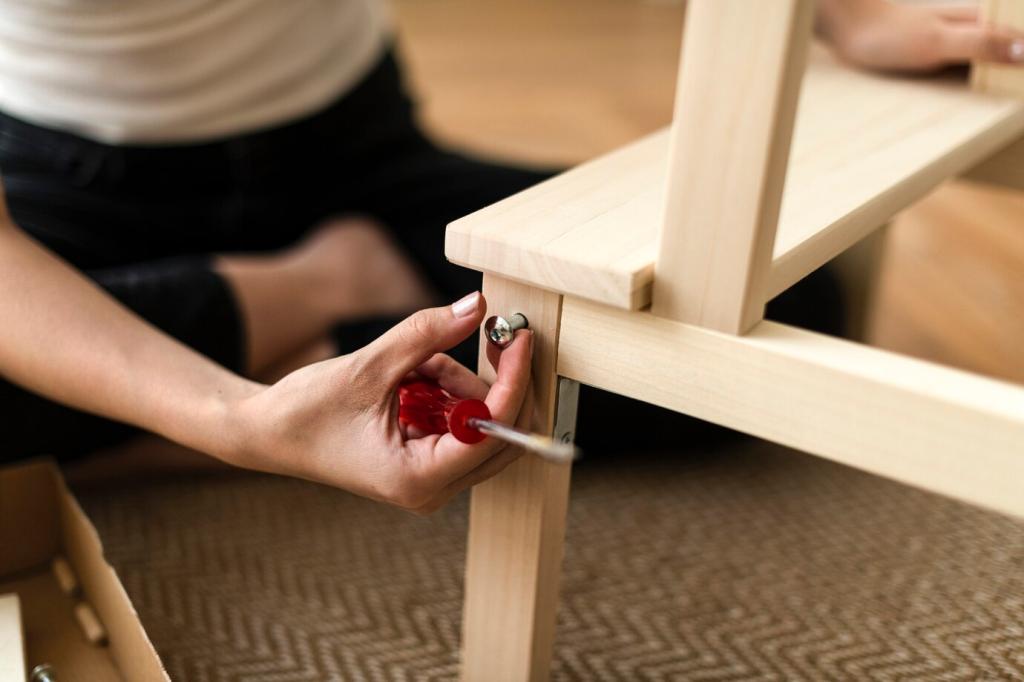
Dry Fit for Alignment
Reassemble without glue and test the fit. If gaps appear, adjust with light sanding or shims. Confirm the piece stands square and true. Take a quick photo, share it with our community, and get alignment suggestions before gluing.
Adhesives That Last: Picking the Right Glue for the Job
PVA is versatile and strong for snug, clean joints. Liquid hide glue offers reversibility for antiques and future repairs. Epoxy fills larger gaps but demands precise mixing. Match glue to gap size, desired flexibility, and restoration standards.
Clamping Mastery: Pressure, Placement, and Patience
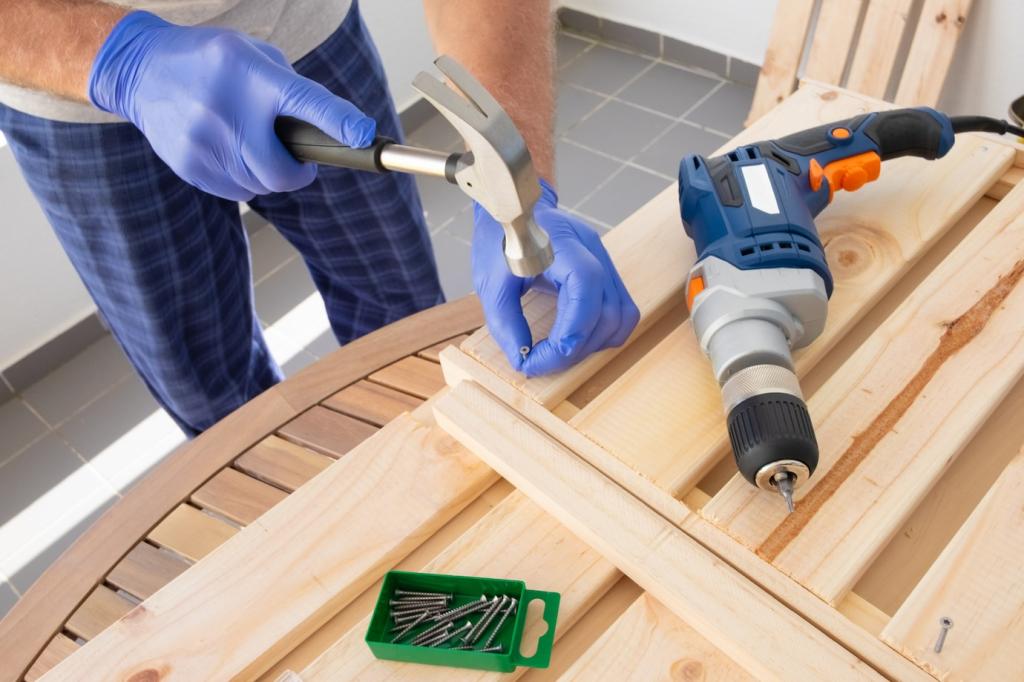
Choose the Right Clamps
Bar clamps offer strong, even pressure; pipe clamps stretch across longer spans; band clamps cinch awkward shapes. Use cauls to spread load and protect edges. Always test clamp length and reach before glue sets to avoid scrambling.
Bring parts together lightly, check squareness, then increase pressure evenly. Alternate sides to prevent twisting. If the joint slips, use rosin paper or a light squeeze of glue, wait a minute, and clamp again for better grab.
Respect the adhesive’s open and clamp times. Wipe squeeze-out while tacky using a damp cloth or chisel after gel set. Allow full cure before loading the furniture. Share your timing plan so others can compare adhesives and conditions.
A slightly offset peg can pull a tenon tight without clamps. Drill carefully, taper the peg, and tap it home. For chairs, thin hardwood wedges in mortises can close gaps invisibly when glue alone will not hold.
No-Disassembly Fixes: Tightening in Place
Glue and screw triangular corner blocks inside frames to resist racking. Use pilot holes to prevent splitting and orient grain for strength. Painted or hidden positions keep reinforcements discreet while dramatically boosting overall rigidity.
A Save-from-the-Dumpster Story: One Chair’s Second Life
An oak dining chair rocked so badly the owner nearly tossed it. We found two loose mortise-and-tenon joints hidden under a glossy finish. Gentle heat softened old hide glue enough to open the seat frame without splintering.
A Save-from-the-Dumpster Story: One Chair’s Second Life
After clearing crystallized glue, a dry fit revealed a slight gap. We added a thin veneer shim to restore cheek contact, then chose liquid hide glue for reversibility. Cauls and two bar clamps kept the seat square during curing.