Simple Chair Reupholstery Projects: Turn Well-Loved Seats into Daily Joy
Chosen theme: Simple Chair Reupholstery Projects. Welcome! If you’ve ever looked at a frayed seat and wondered, “Could I fix that?”, this is your friendly nudge to say yes. Dive in, share your progress, and subscribe for weekly, doable upholstery inspiration.
Your First Staple: Tools, Materials, and Mindset
The Essential Kit
For simple chair reupholstery projects, you’ll want a manual or pneumatic staple gun, 1/4–3/8 inch staples, fabric scissors, flathead screwdriver, pliers or a staple remover, foam, batting, a dust cover, measuring tape, marker, and safety glasses. A magnetic dish saves screws.
Choosing the Right Fabric for Real Life
Pick a fabric that matches your lifestyle and chair use. Durable cotton canvas, microfiber, vinyl, or performance weaves resist stains and wear. Prewash natural fibers to reduce shrinkage, and consider patterns that hide crumbs and kid chaos. Share your fabric shortlists below.
Prep Like a Pro
Before you begin, take photos of the chair from every angle, label screws in small bags, and spread a drop cloth on a big, flat surface. Keep a notebook for measurements and steps. Tell us what’s in your starter kit and we’ll suggest upgrades.
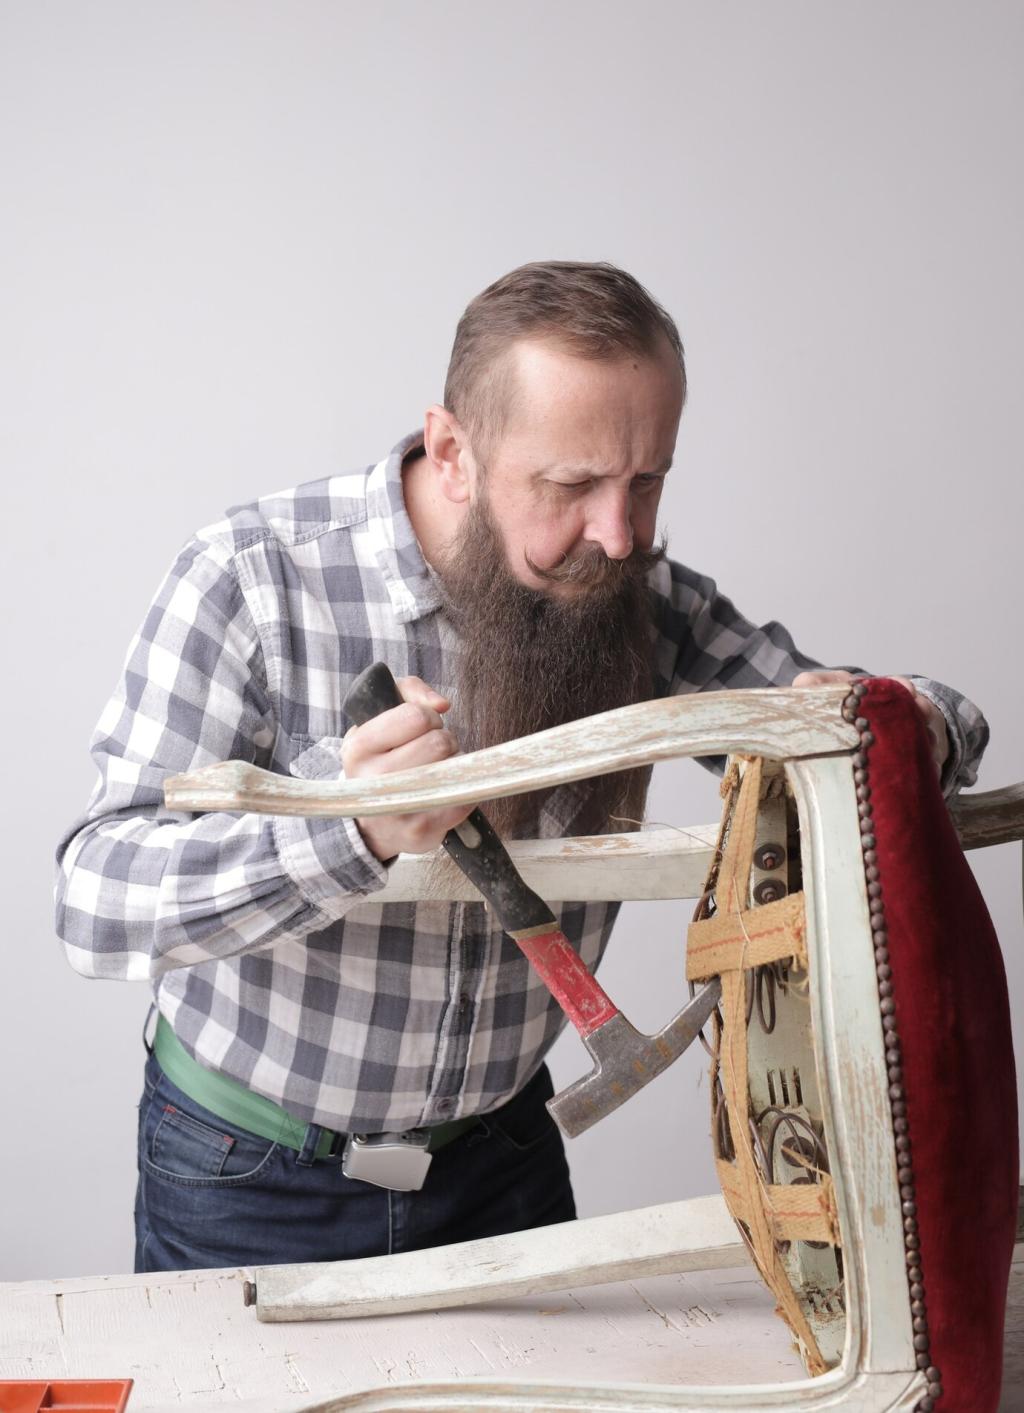
Remove and Respect the Past
Unscrew the seat, flip it over, and carefully pry out staples to remove old fabric. Keep that fabric as your pattern. Check the dust cover for clues about construction. Sometimes you’ll find coins, notes, or ticket stubs; share your discoveries for a fun community thread.
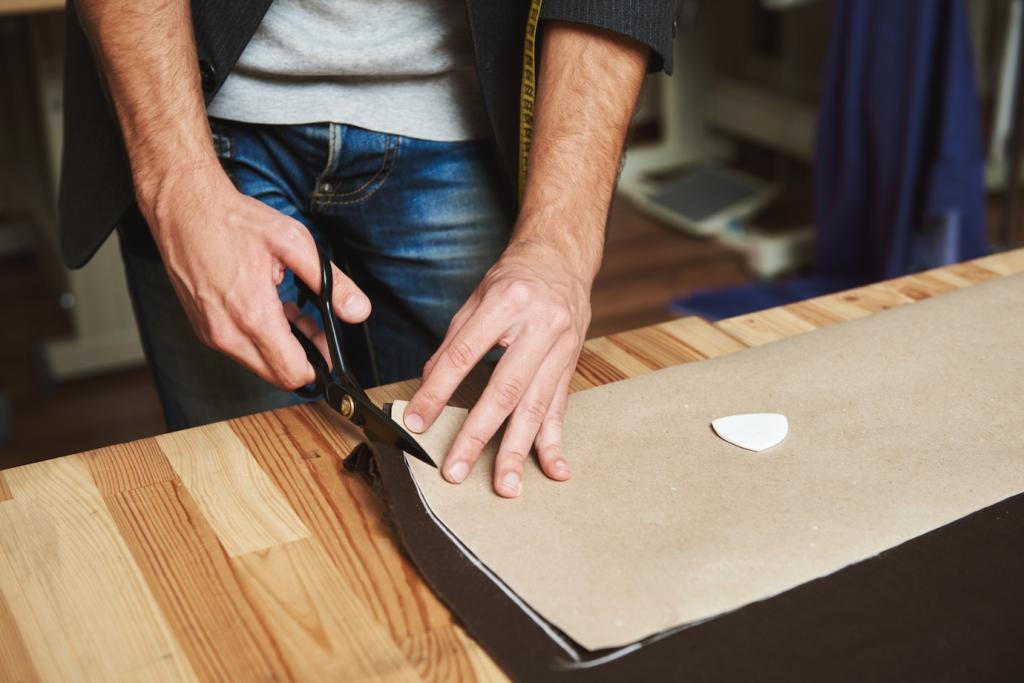
Cut, Wrap, and Staple Smart
Lay the old cover on your new fabric and add a 2–3 inch margin. Align the pattern direction before cutting. Start stapling at the midpoint of each side, pulling fabric taut, then work toward corners. Keep staples spaced evenly for strength and a neat underside.
Corners that Wow
For polished corners, try a hospital fold or two small pleats, distributing bulk evenly. Pull firmly but not excessively to prevent puckers on the top. Steam can relax minor wrinkles. Practice on scrap fabric first, then post your before-and-after shots to celebrate the upgrade.
We kept the nicks on a beloved kitchen chair, then added wipeable teal vinyl that laughs at spaghetti night. The result felt honest and fresh, honoring history without babying it. Have a family chair waiting? Tell us the memory you want to preserve and refresh.
Style Stories: Personality in Every Seat
A five-dollar frame with a wobbly seat became a weekend triumph. Tightened screws, new foam, and ticking stripe fabric delivered café charm for pocket change. It reminded us that simple chair reupholstery projects reward curiosity. Share your best budget finds and crowdsource finishing ideas.
Style Stories: Personality in Every Seat
Design Decisions: Patterns, Piping, and Personality
Pattern Placement and Alignment
Center bold motifs on the seat for balance, and keep stripes parallel to the front edge to avoid a tilted look. When redoing multiple chairs, align patterns consistently for harmony. Mark centers with chalk, dry-fit before cutting, and share your alignment wins in the comments.
Piping and Trim Without Fear
Want a tailored finish? Add pre-made piping or gimp braid around the seat edge. It hides staples and elevates simple chair reupholstery projects instantly. Use fabric glue carefully or staple trim on the underside. Show us your trim color experiments and we’ll applaud the boldest.
Color Confidence
Chairs are perfect testbeds for color because the commitment is small and the impact is big. Create a mini mood board, view swatches in daylight, and pair with existing wood tones. Ask the community to vote between two palettes; collective wisdom often spots the keeper.
When Fabric Wrinkles or Sags
Don’t panic. Remove a few staples, restretch from the center outward, and keep tension even across opposite sides. Add a thin batting layer if the foam is slightly low. A warm iron with a pressing cloth can relax creases—always test on a scrap first for safety.
On tight curves, make small relief cuts in the seam allowance of woven fabrics, stopping short of the visible edge. For vinyl, use gentle heat to help it flex. Distribute pleats evenly to avoid bulk. Drop your corner photos and we’ll help you refine the fold.